Understanding Drywall Taping: A Crucial Step in Finishing
When it comes to achieving a flawless finish in your interior spaces, drywall taping plays a critical role. This essential step in drywall installation not only strengthens the seams between drywall panels but also ensures a smooth, professional appearance that is ready for painting or other finishes. For homeowners and builders in Regina, Saskatchewan, understanding the importance of drywall taping can make all the difference in the quality and durability of your walls and ceilings. In this article, we’ll delve into the key aspects of drywall taping and why it’s a crucial step in the finishing process.
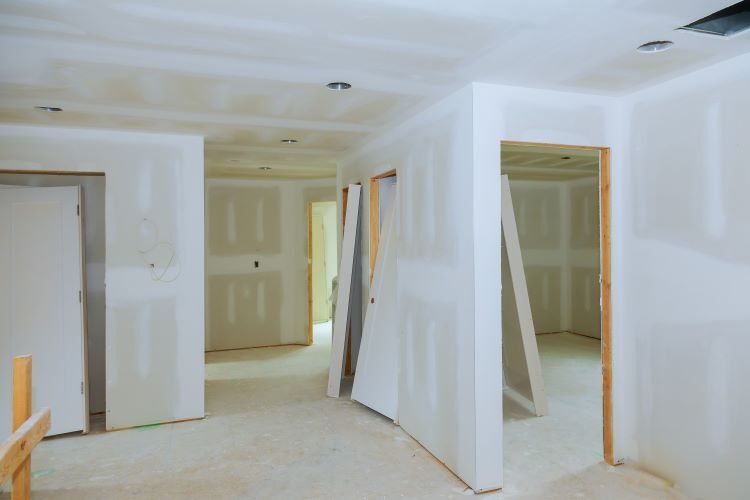
What Is Drywall Taping?
Drywall taping involves applying a special tape and joint compound to the seams between drywall panels. The goal is to create a seamless surface that hides the joints and fasteners, giving the appearance of a single, continuous wall. Without proper taping, these seams would be visible, resulting in an unsightly finish and potential weaknesses in the drywall structure.
The Importance of Proper Drywall Taping
- Enhances Structural Integrity
One of the primary functions of drywall taping is to reinforce the seams between drywall panels. By applying tape and joint compound, you effectively bond the panels together, creating a stronger, more unified structure. This added strength helps prevent cracks and other issues that can arise from the natural settling of a building or minor impacts.
- Provides a Smooth, Professional Finish
A key aspect of drywall taping is achieving a smooth, even surface that is ready for finishing. Properly taped seams are virtually invisible once the walls are painted, giving your space a clean, professional look. This is especially important in areas with ample natural light, where imperfections in the drywall would be more noticeable.
- Prevents Future Damage
Well-executed drywall taping can help prevent future damage to your walls. By reinforcing the seams, taping reduces the likelihood of cracks developing over time. It also helps protect against moisture infiltration, which can lead to mold growth and other issues if left unchecked.
Steps in the Drywall Taping Process
To achieve a flawless finish, it’s essential to follow the correct steps in the drywall taping process. Here’s a brief overview of the key stages:
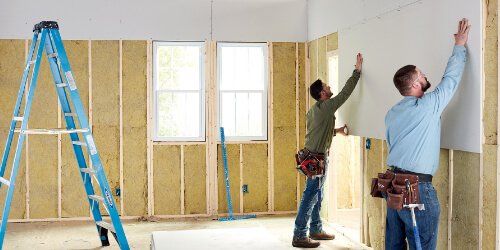
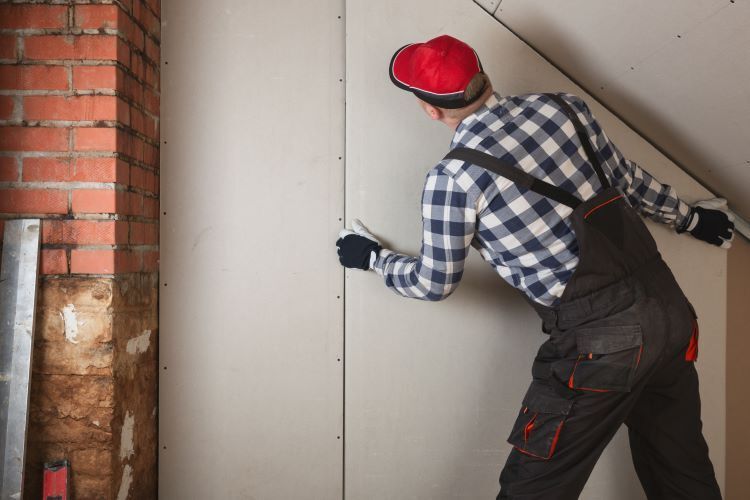
- Preparation
Before you begin taping, ensure that the drywall panels are properly installed and all fasteners are countersunk below the surface of the drywall. Any gaps between panels should be no more than 1/8 inch wide. Clean the surface of the drywall to remove any dust or debris that could interfere with the adhesion of the tape and joint compound.
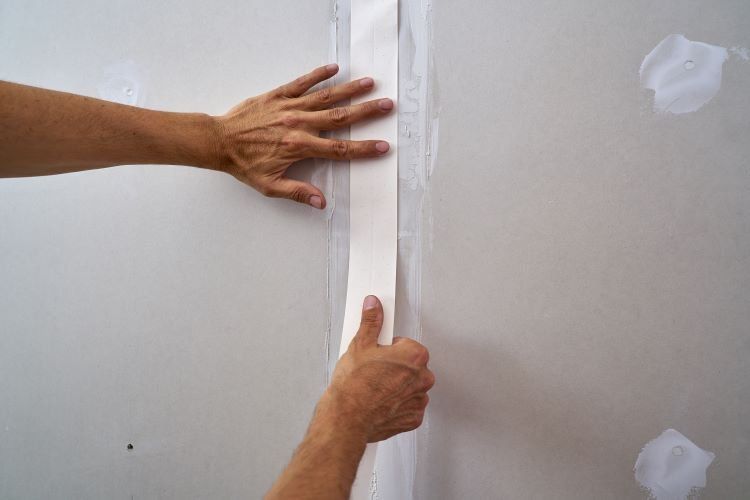
- Applying the Tape
There are two main types of drywall tape: paper tape and mesh tape.
- Paper Tape: Paper tape is a traditional option that requires a layer of joint compound to be applied first. Once the compound is in place, the tape is embedded into it and smoothed out to remove any air bubbles or wrinkles.
- Mesh Tape: Mesh tape is self-adhesive and can be applied directly to the seams without the need for an initial layer of compound. This type of tape is easier to work with for beginners but may not provide as smooth a finish as paper tape.
- Applying the Joint Compound
After the tape is in place, apply a thin layer of joint compound over the tape using a taping knife. The goal is to cover the tape completely while feathering the edges of the compound to blend it into the surrounding drywall. Allow the compound to dry completely before applying additional layers.
- Sanding and Finishing
Once the joint compound has dried, sand the taped areas to achieve a smooth, even surface. It’s important to be patient during this step and avoid over-sanding, which can damage the tape and create indentations. After sanding, apply a final skim coat of joint compound if necessary, and sand again to achieve a flawless finish.
- Priming and Painting
With the taping and finishing complete, the drywall is ready for priming and painting. Priming the surface is crucial to ensure even paint coverage and to seal the joint compound, preventing it from absorbing too much paint.
Common Drywall Taping Mistakes to Avoid
Even experienced DIYers can make mistakes during the drywall taping process. Here are some common pitfalls to watch out for:
- Skipping the Primer: Always prime the drywall before painting. Skipping this step can result in uneven paint coverage and visible seams.
- Overloading the Taping Knife: Applying too much joint compound at once can lead to a lumpy, uneven surface. Use thin layers and build up gradually for the best results.
- Rushing the Drying Process: Allow each layer of joint compound to dry completely before sanding or applying additional coats. Rushing this process can cause the compound to crack or peel.
Why Trust a Professional for Drywall Taping?
While drywall taping may seem like a straightforward task, achieving a flawless finish requires skill and experience. For homeowners in Regina, Saskatchewan, trusting a professional drywall contractor like Regina Drywallers can save time and ensure a superior result. Professionals have the expertise to handle even the most challenging taping jobs, including corners, ceilings, and irregular surfaces.
Drywall taping is a crucial step in the finishing process, providing the foundation for a smooth, durable, and professional-looking wall. By understanding the importance of proper taping and following the correct steps, you can ensure that your drywall installation stands the test of time.
Whether you’re tackling a DIY project or hiring a professional, investing in quality taping will pay off in the long run, enhancing the beauty and longevity of your interior spaces.
You Might Also Enjoy:
Contact Us!