How to Prepare Your Walls for Drywall Installation

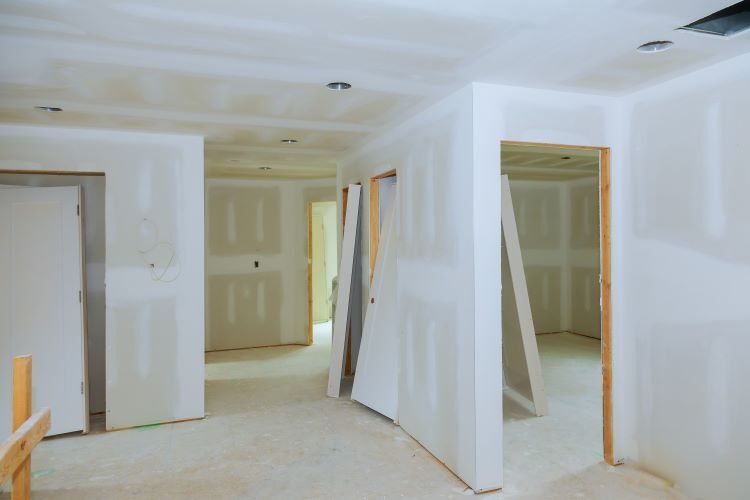
Installing drywall is a critical step in creating smooth, finished walls, whether for a new construction project or a renovation. Proper preparation ensures the drywall installation process goes smoothly, resulting in a professional and long-lasting finish. At Regina Drywallers, we’ve mastered the art of drywall installation and know the importance of thorough preparation. Here’s a step-by-step guide to getting your walls ready for drywall installation.
Step 1: Clear the Workspace
A clean and organized work area is essential for safe and efficient drywall installation.
What to do:
- Remove furniture, decor, and personal belongings from the room.
- Cover the floors with drop cloths to protect them from dust and debris.
- Ensure there’s adequate lighting and ventilation in the workspace.
Tip: Use plastic sheeting to seal off the area to minimize dust spreading to other parts of your home.
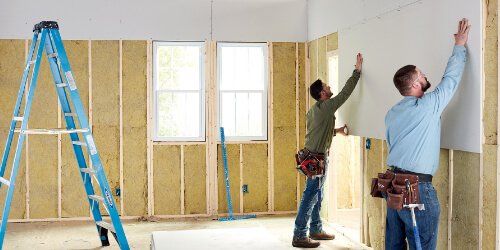
Step 2: Inspect and Repair the Framing
The framing provides the foundation for drywall. Any issues with the framing can affect the stability and appearance of the finished walls.
Steps to follow:
- Check studs and joists to ensure they’re straight, level, and properly spaced (typically 16 or 24 inches apart).
- Secure any loose framing with nails or screws.
- Replace damaged or warped wood to ensure a flat surface for drywall installation.
Tip: Use a level to verify that all framing components are aligned correctly.
Step 3: Install Electrical and Plumbing Components
Ensure all behind-the-wall systems are completed and inspected before covering them with drywall.
Tasks to complete:
- Run electrical wiring, plumbing pipes, and HVAC ducts.
- Install outlet boxes and light switches, ensuring they protrude enough to align with the drywall surface.
- Have the work inspected by a professional to confirm compliance with local building codes.
Tip: Take photos of the wall interiors before installation to document the placement of wires and pipes for future reference.
Step 4: Apply Insulation and Vapor Barriers
Adding insulation improves energy efficiency, and vapor barriers help prevent moisture buildup.
Steps to take:
- Insert insulation between studs to achieve desired thermal or soundproofing effects.
- Install vapor barriers in areas prone to moisture, such as basements or bathrooms.
- Secure insulation with staples or fasteners to ensure it stays in place.
Tip: Choose insulation materials suited to Regina’s climate for optimal performance.
Step 5: Check for Obstructions and Protrusions
Before attaching drywall, ensure the wall surface is free of obstacles.
What to do:
- Remove nails, screws, or debris from studs.
- Trim any protruding nails or wood fragments.
- Mark the locations of studs, electrical boxes, and pipes on the floor or ceiling for easy reference during drywall installation.
Tip: Use a stud finder or laser level for precise measurements.
Step 6: Gather the Necessary Tools and Materials
Having all tools and supplies ready ensures a seamless installation process.
Essentials include:
- Drywall panels of appropriate size and thickness.
- Screws, nails, and a screw gun or drill.
- Tape measure, utility knife, and T-square.
- Drywall lift or support for handling large panels.
Tip: Consult your drywall contractor to confirm the best materials for your specific project.
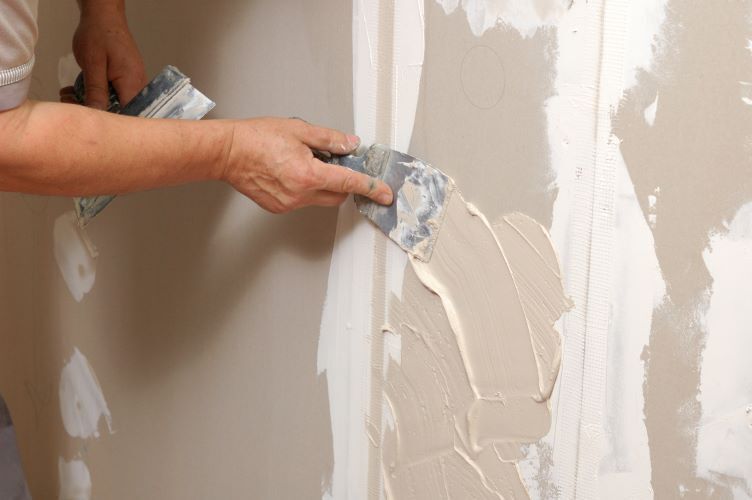
Conclusion
Proper wall preparation is the foundation of a successful drywall installation. By following these steps, you’ll ensure a smooth process and a durable, professional finish. If you’re ready to transform your space, trust Regina Drywallers for expert drywall installation services in Regina, Saskatchewan.
Contact us today to discuss your project and learn how we can bring your vision to life!
You Might Also Enjoy:
Contact Us!