How to Drywall a Ceiling

Drywalling a ceiling can be a challenging task, especially if you’re tackling it for the first time. However, with the right tools, materials, and a bit of guidance, you can achieve a professional finish. At Regina Drywallers, we pride ourselves on delivering top-notch drywall services, and we're here to share our expertise with you. Follow this step-by-step guide to drywall your ceiling like a pro.
Tools and Materials You'll Need
Before you start, gather the necessary tools and materials:
Tools:
- Drywall lift or a helper
- Tape measure
- T-square or straight edge
- Utility knife
- Drywall saw
- Drill or screw gun
- Drywall screws (1 1/4 inch)
- Joint tape
- Mud pan and taping knife
- Sanding sponge or sandpaper
Materials:
- Drywall sheets (1/2 inch thick for most ceilings)
- Joint compound
- Primer and paint (if desired)
Step-by-Step Guide
Step 1: Measure and Cut the Drywall
Measure the dimensions of your ceiling to determine the size and number of drywall sheets needed. Cut the drywall sheets to fit using a T-square and a utility knife. Score the drywall along your measured line, then snap it along the score and cut the paper backing.
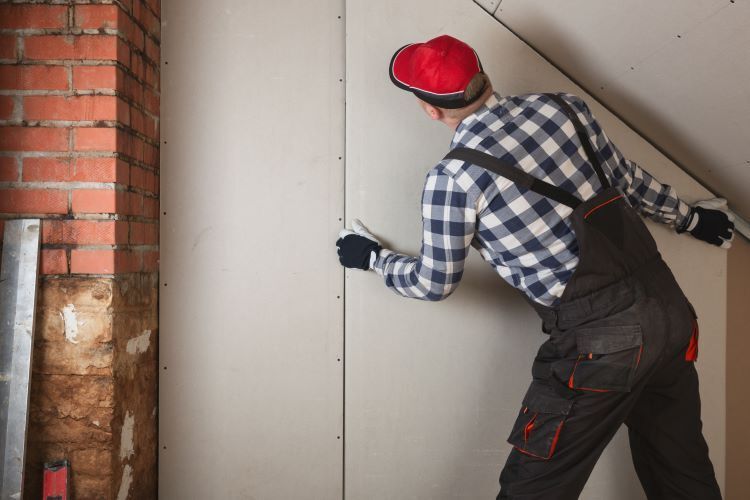
Step 2: Install the Drywall Sheets
Using a drywall lift or the help of a friend, position the first drywall sheet against the ceiling joists. Ensure the edges are aligned with the joists for secure attachment.
Drill drywall screws every 12 inches along the joists to hold the sheet in place. Be careful not to overdrive the screws, as this can damage the drywall.
Step 3: Repeat the Process
Continue measuring, cutting, and installing drywall sheets until the entire ceiling is covered. Be sure to stagger the joints between sheets to increase the stability and reduce the risk of cracks forming.
Step 4: Tape the Joints
Apply joint tape along all the seams between the drywall sheets. Press the tape firmly into place to ensure it adheres well. Use a mud pan and taping knife to apply a thin layer of joint compound over the tape, smoothing it out to create a seamless surface.
Step 5: Apply the First Coat of Joint Compound
Once the tape is in place, apply a first coat of joint compound over the entire seam, extending the compound a few inches beyond the tape. Feather the edges to blend it into the drywall surface. Allow the compound to dry completely, usually for about 24 hours.
Step 6: Sand and Apply Additional Coats
After the first coat of joint compound has dried, use a sanding sponge or sandpaper to smooth the surface. Apply additional coats of joint compound as needed, allowing each coat to dry before sanding. Usually, two to three coats are sufficient to create a smooth, even surface.
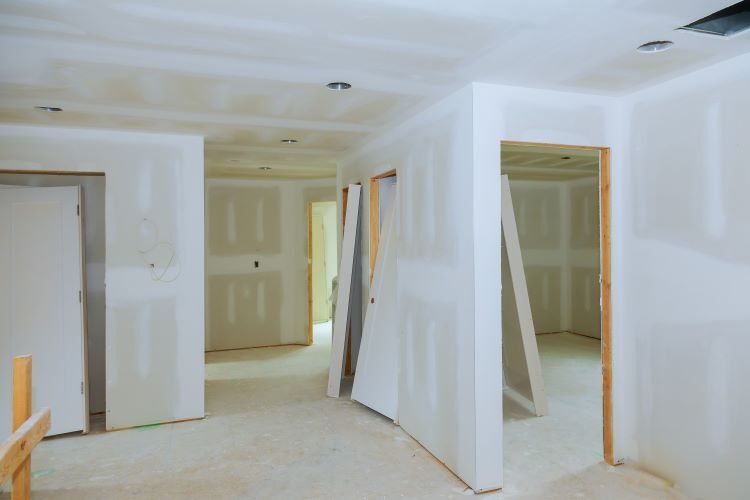
Step 7: Prime and Paint
Once the final coat of joint compound is dry and smooth, it’s time to prime and paint your ceiling. Apply a coat of primer to prepare the surface, followed by your chosen paint color. This will give your ceiling a polished, professional finish.
Tips for Success
- Use a Drywall Lift: A drywall lift can make the installation process much easier and safer, especially when working alone.
- Stagger Joints: Staggering the joints between drywall sheets increases the structural integrity of the ceiling.
- Feather Edges: Feathering the edges of the joint compound helps to blend it into the drywall, creating a seamless look.
- Take Your Time: Allow each coat of joint compound to dry completely before sanding and applying the next coat to avoid any issues with adhesion or cracking.
Conclusion
Drywalling a ceiling may seem daunting, but with the right preparation and techniques, you can achieve a professional-looking result. By following these steps, you'll be able to handle your ceiling drywall project with confidence.
At Regina Drywallers, we understand that not everyone has the time or inclination to tackle such projects themselves. If you prefer to leave it to the professionals, our team is here to help. Contact us today for expert drywall services that guarantee a flawless finish for your ceiling.
You Might Also Enjoy:

Contact Us!