Drywall Installation Expert Tips and Tricks
Drywall installation can seem like a daunting task, but with the right tips and tricks, you can achieve professional results even as a DIY enthusiast. At Regina Drywallers, we’ve mastered the art of drywall installation, and we’re here to share some expert advice to help you get the job done right. Whether you’re renovating a single room or tackling a whole house, these tips will ensure your drywall installation goes smoothly and looks great.
1. Plan and Prepare Your Workspace
a. Measure Twice, Cut Once
Accurate measurements are crucial in drywall installation. Measure your walls carefully and double-check your measurements before cutting your drywall sheets. This will help you avoid mistakes and reduce waste.
b. Gather the Right Tools
Having the right tools on hand can make a significant difference in your installation process. Essential tools include a utility knife, drywall saw, T-square, drywall lift, screw gun, and joint compound. Make sure your tools are in good condition and ready to use.
c. Clear the Area
Ensure your workspace is clean and free of debris. This will make it easier to maneuver drywall sheets and will help prevent accidents. If you’re working on a renovation, remove any old drywall, nails, or screws from the studs before you begin.
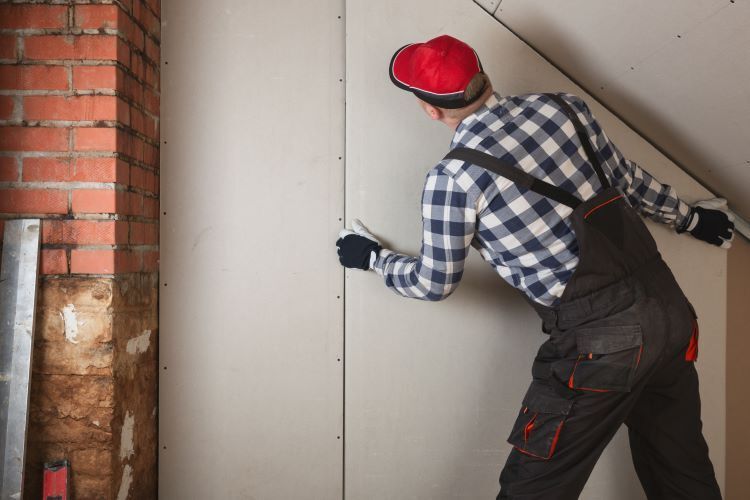
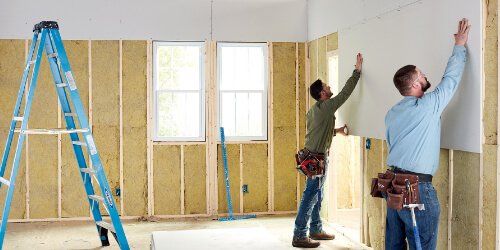
2. Hanging Drywall Sheets
a. Start with the Ceiling
If you’re installing drywall on both the walls and the ceiling, start with the ceiling. This allows the wall sheets to support the edges of the ceiling sheets, providing a more secure fit. Use a drywall lift to hold the ceiling sheets in place while you secure them.
b. Stagger the Joints
Staggering the joints on your drywall sheets helps to create a stronger wall and reduces the risk of cracks. Avoid lining up joints on adjacent sheets by starting each row with a half sheet.
c. Secure with Screws
Use drywall screws instead of nails to secure your sheets. Screws provide better holding power and are less likely to pop out over time. Space the screws about 12 inches apart on the studs and slightly sink them below the surface of the drywall.
3. Cutting Drywall
a. Score and Snap
The most common method for cutting drywall is to score and snap. Use a utility knife to score the drywall along your measured line, then snap the sheet along the score and cut through the paper backing with your knife.
b. Use a Drywall Saw for Openings
For cutting out openings for windows, doors, or electrical outlets, use a drywall saw. Measure and mark the area to be cut, then carefully saw along the lines. For cleaner cuts, use a keyhole saw for smaller openings and a jigsaw for larger ones.
4. Taping and Mudding
a. Use Paper Tape
Paper tape is generally preferred over mesh tape for drywall joints because it creates a stronger bond and is less likely to crack. Apply a thin layer of joint compound to the joint, then embed the tape in the compound and smooth it out.
b. Apply Multiple Coats of Joint Compound
Apply three coats of joint compound to achieve a smooth finish. Start with a thin coat to cover the tape, then add a second coat to feather out the edges. The final coat should be the widest, extending several inches beyond the previous coats to ensure a seamless blend.
c. Sand Between Coats
Sanding between coats is crucial for a smooth finish. Use a fine-grit sanding sponge or pole sander to lightly sand the dried joint compound. Wipe away dust with a damp cloth before applying the next coat.
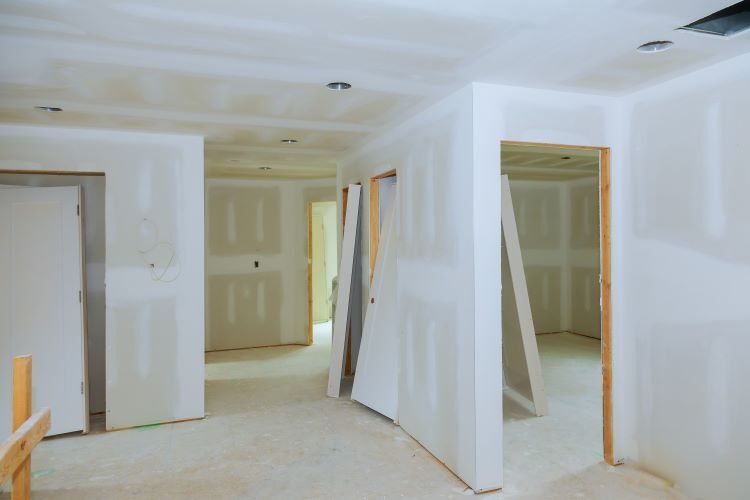
5. Finishing Touches
a. Prime Before Painting
Always apply a primer before painting your newly installed drywall. Primer seals the surface and provides a uniform base for the paint, ensuring better adhesion and a more even finish.
b. Inspect and Touch Up
After priming, inspect the walls for any imperfections. Fill any remaining gaps or dents with joint compound, sand smooth, and prime the patched areas. A thorough inspection and touch-up process will ensure a flawless final result.
c. Consider Texture
Adding texture to your walls can enhance the appearance of your drywall installation. Popular textures include orange peel, knockdown, and popcorn. Choose a texture that complements your design style and apply it using a spray texture machine or hand tools.
Conclusion
Drywall installation may seem challenging, but with these expert tips and tricks, you can achieve professional results in your home improvement projects. Whether you’re a DIY enthusiast or hiring a professional, understanding the nuances of drywall installation can help you ensure a successful and beautiful outcome.
At Regina Drywallers, we pride ourselves on our expertise and commitment to quality. If you need professional assistance with your drywall installation, repairs, or finishing, don’t hesitate to contact us. We’re here to help you transform your space with flawless drywall solutions.
You Might Also Enjoy:
Contact Us!