All You Need to Know About Drywall Installation
Installing drywall is a crucial step in constructing or renovating any interior space. It forms the foundation for your walls and ceilings, providing a smooth, even surface ready for painting or finishing. At Regina Drywallers, we pride ourselves on delivering top-quality drywall installation services in Regina, Saskatchewan. In this blog, we’ll walk you through the drywall sheet installation process and share some expert tips to ensure professional results.
Step-by-Step Drywall Installation Process
- Preparation
- Gather Materials and Tools: You'll need drywall sheets, screws, a drill, a utility knife, a T-square, joint tape, joint compound, a taping knife, sandpaper, and a drywall lift (for ceiling installations).
- Measure and Plan: Measure the dimensions of the walls or ceilings to determine the number of drywall sheets required. Plan the layout to minimize waste and ensure seams fall on studs.
- Cutting the Drywall Sheets
- Measure and Mark: Use a T-square to mark the cutting lines on the drywall sheets.
- Score and Snap: Score the drywall along the marked lines with a utility knife, then snap the sheet along the scored line. Use the knife to cut through the paper backing.
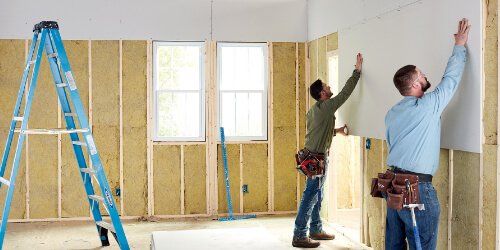
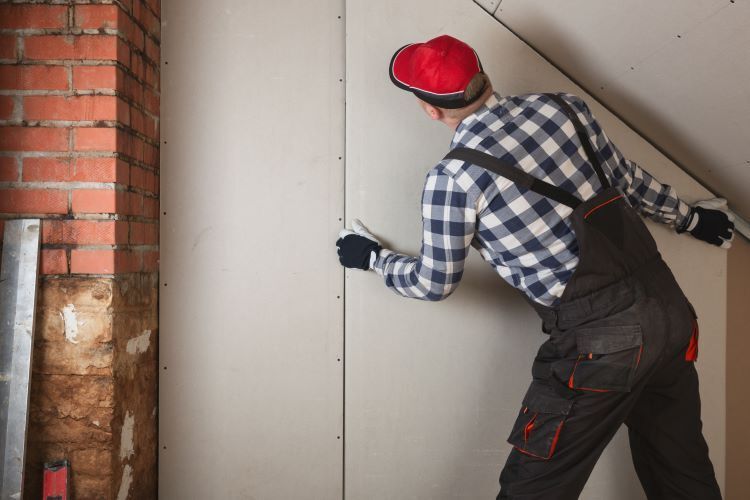
- Installing the Drywall Sheets
- Position the Sheets: Start with the ceiling if applicable. Use a drywall lift to position the sheet against the ceiling joists. For walls, start at the top and work your way down.
- Secure the Sheets: Use a drill to drive screws into the drywall, spacing them about 12 inches apart along the edges and every 16 inches in the field. Ensure the screws are slightly recessed without breaking the paper surface.
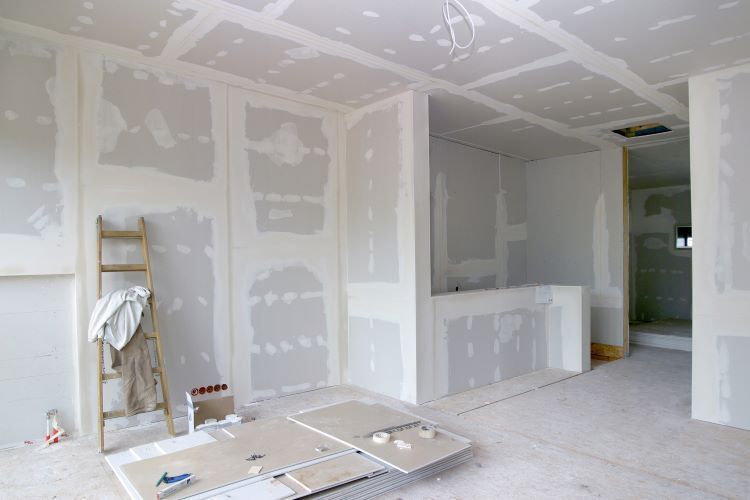
- Taping and Mudding
- Apply Joint Tape: Cover the seams between drywall sheets with joint tape. Use paper tape or mesh tape as per your preference.
- First Coat of Joint Compound: Apply a thin layer of joint compound over the tape using a taping knife. Smooth it out evenly.
- Second and Third Coats: Once the first coat is dry, apply additional coats of joint compound, feathering the edges to blend into the drywall. Allow each coat to dry before applying the next.
- Sanding
- Smooth the Surface: After the final coat of joint compound has dried, sand the surface with fine-grit sandpaper to achieve a smooth finish. Be careful not to sand too much and expose the tape.
- Final Inspection and Touch-Ups
- Check for Imperfections: Inspect the drywall for any imperfections or missed spots. Apply touch-up compound and sand as needed.
- Prime and Paint: Once the drywall is smooth and dust-free, it's ready for priming and painting.
Expert Tips for Professional Drywall Installation
- Use Quality Materials Investing in high-quality drywall sheets, joint compound, and tape can make a significant difference in the final result. Quality materials are easier to work with and provide a better finish.
- Maintain Consistent Screw Depth Ensure that all screws are driven to the same depth, slightly recessed without breaking the paper surface. This helps prevent “popping” screws and creates a smoother surface for finishing.
- Feather the Edges Feathering the edges of the joint compound creates a seamless transition between the drywall sheets and the compound. This reduces the visibility of seams and provides a professional finish.
- Work in Good Lighting Proper lighting helps you see imperfections and ensures a smooth finish. Use work lights if necessary to illuminate your work area adequately.
- Control Dust Drywall dust can be a nuisance. Use a dust control joint compound and consider setting up a dust barrier if working in an occupied home. Clean up dust regularly to keep your workspace clean.
- Take Your Time Rushing the installation process can lead to mistakes and a poor finish. Take your time to measure accurately, apply joint compound smoothly, and sand carefully for the best results.
- Hire Professionals Drywall installation can be labor-intensive and requires a certain level of skill to achieve a professional finish. Hiring experienced professionals, like the team at Regina Drywallers, ensures high-quality results and saves you time and effort.
Conclusion
Drywall installation is a vital part of creating a polished, functional interior space. By following the steps outlined above and incorporating expert tips, you can achieve a professional-quality finish that enhances the beauty and value of your home. At Regina Drywallers, we are dedicated to providing top-notch drywall installation services to homeowners in Regina, Saskatchewan. Contact us today to learn more about how we can help with your next drywall project.
Regina Drywallers is your trusted local expert for all drywall installation and repair needs in Regina, Saskatchewan. Contact us today to schedule a consultation or to learn more about our services.
You Might Also Enjoy:
Contact Us!